
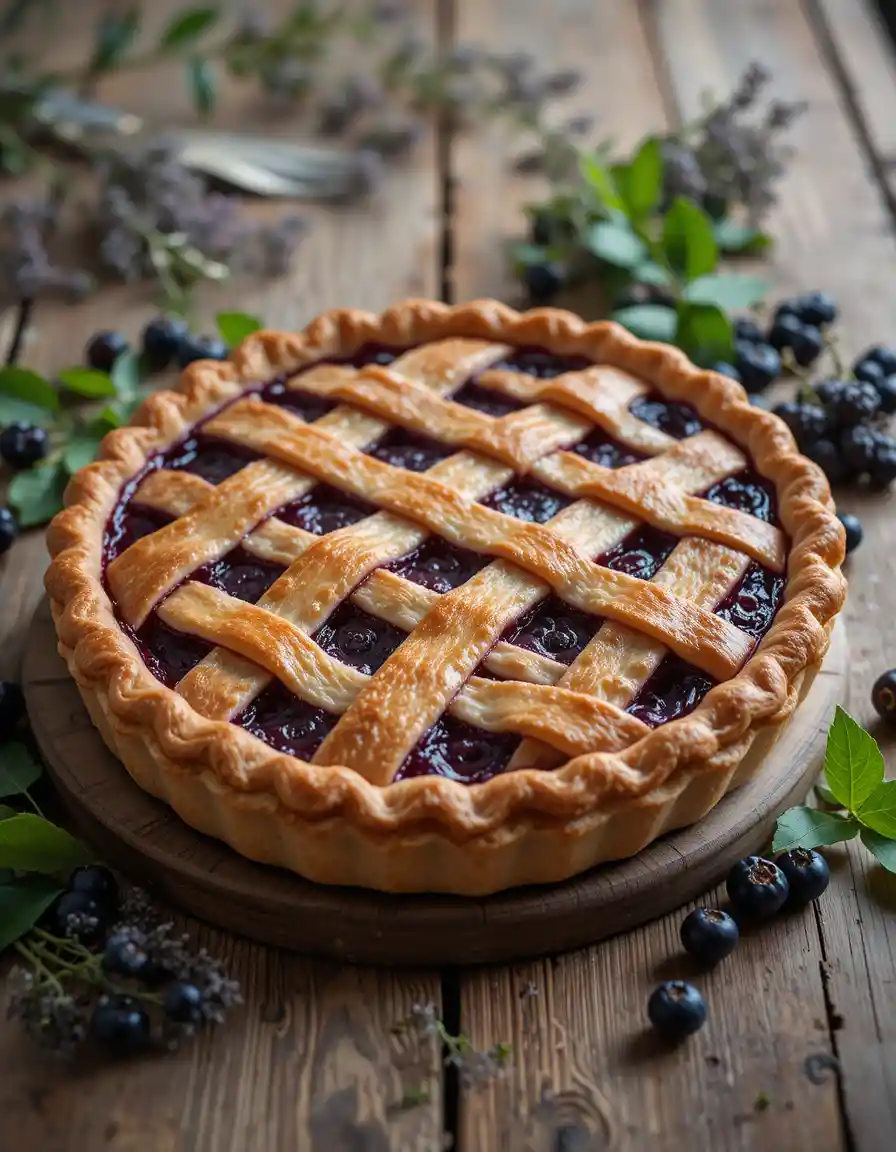
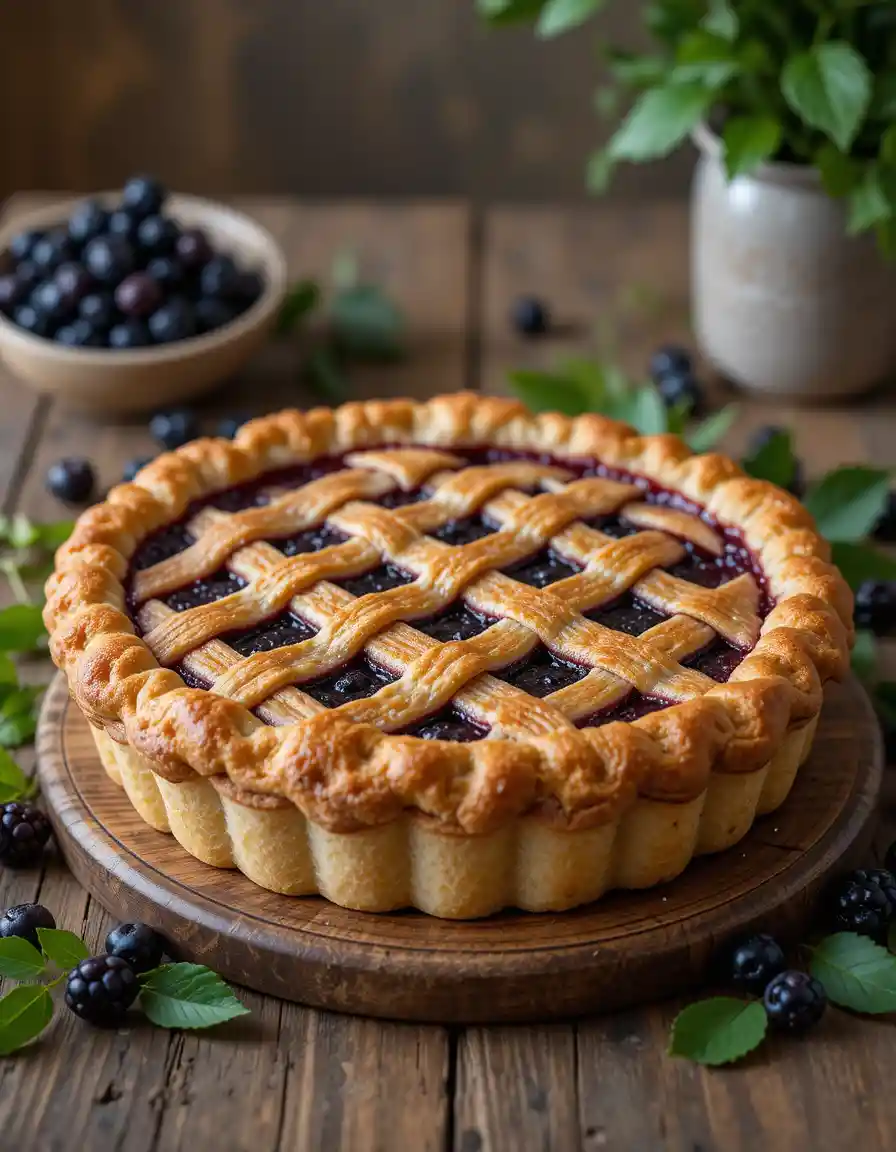
Elderberry Pie
Elderberry pie isn’t just a dessert—it’s a taste of home, a bite of nostalgia, and a secret favorite of those who know good flavor when they taste it.
Have you ever wondered why some fruit pies feel flat, while others burst with deep, wild flavor in every forkful? If your pies have ever turned out too runny, too bland, or just not quite right, you’re not alone—and elderberries might just be your new best friend.
In this post, you’ll learn exactly how to make the perfect elderberry pie from scratch—flaky crust, rich filling, and just the right balance of sweet and tart. Whether you’re baking for a Sunday dinner, the holidays, or just because, this recipe brings that rustic, old-fashioned charm to your kitchen without the fuss.
Let’s bring back this underrated classic the right way—one homemade pie at a time.
Table of Contents
Ingredients You’ll Need for a Knock‑Out Elderberry Pie
(Makes one 9‑inch pie that serves 8 hungry folks)
For the Flaky Pie Crust
- 2 ½ cups all‑purpose flour – spooned & leveled for a tender bite
- 1 tsp salt – keeps the flavor bright
- 1 Tbsp sugar – just a kiss of sweetness
- 1 cup (2 sticks) cold unsalted butter, cubed – colder than a mountain stream
- 6–8 Tbsp ice water – add a splash at a time till the dough comes together
Shortcut tip: Got no time? A good store‑bought double crust works, but homemade is what’ll make Grandma proud.
For the Elderberry Filling
- 5 cups fresh elderberries (or frozen, thawed & drained) – the star of the show
- ¾ cup granulated sugar – adjust if your berries are tart
- ¼ cup packed light brown sugar – adds a caramel whisper
- 2 Tbsp lemon juice – brightens the berries, keeps ’em singing
- 1 tsp lemon zest – optional, but oh boy does it pop
- ½ tsp ground cinnamon – cozy flavor without stealing the spotlight
- ¼ tsp ground nutmeg – just a pinch for warmth
- ¼ cup cornstarch – thickens so your elderberry pie slices are neat, not soupy
- 1 Tbsp cold butter, diced – dotted on top for glossy richness
For the Finishing Touch
- 1 egg + 1 Tbsp milk – whisked for a rustic egg‑wash sheen
- Coarse sugar (optional) – sprinkle for crunch and sparkle
Why These Ingredients Rock
- Elderberries bring a deep, wild flavor you just can’t fake.
- Two sugars layer sweetness so every bite tastes rounded, not one‑note.
- Cornstarch means no runny filling—slice with pride!
- Butter flecks melt into tiny pools, giving the filling that Instagram‑worthy shine.
Ready to roll? In the next section, we’ll mix, simmer, roll, and bake—step‑by‑step, no guesswork. Stick around to turn these humble ingredients into a pie that’ll have the whole neighborhood talking.
Step-by-Step Instructions: Making Elderberry Pie from Scratch
There’s something timeless about baking a pie, especially when it’s filled with berries you won’t find in every corner bakery. This elderberry pie recipe is built for home cooks — no frills, no shortcuts, just solid steps that work every time.
Let’s walk through the full process, from dough to done.
Step 1: Mix and Chill the Dough
Start by measuring out your flour, salt, and sugar into a large bowl. Cut in cold butter using your hands or a pastry cutter until the mixture resembles coarse crumbs. Drizzle in the ice water bit by bit, using a fork to mix gently. When the dough sticks together when pressed, shape into two discs, wrap securely, and refrigerate for at least one hour.
This resting period is what helps your crust stay crisp and flaky. Rushing it will lead to shrinkage and soft spots once baked.
Step 2: Prepare the Elderberry Filling
Add elderberries to a saucepan along with both sugars, lemon juice, and a touch of zest. Simmer gently over medium heat until the berries begin to soften and release their juices — about 8 minutes should do it. Stir in cornstarch and continue to cook until the mixture becomes thick enough to coat a spoon.
Take it off the stove and leave it to cool completely. This gives the filling time to set up and prevents it from soaking into the bottom crust while baking.
Step 3: Roll Out the Bottom Crust
Once your dough has rested, flour your work surface and roll out the first disc into a circle slightly larger than your pie plate. Transfer the dough to the pie dish with care, pressing it into the bottom and sides without stretching. Cut off the excess, keeping a 1-inch overhang.
Step 4: Add the Top Crust and Seal
Roll out your second dough disc. You can cover the pie entirely or cut the dough into strips and create a lattice pattern. Either way, seal the edges well — you can pinch, fold, or crimp them with a fork.
Brush the top with a light egg wash for color and, if you like, dust it with a bit of granulated or coarse sugar for a delicate crunch.
Step 5: Bake Until Golden and Bubbling
Preheat your oven to 400°F (200°C). Place the pie on a baking sheet to catch any spills and bake on the middle rack for 20 minutes. Then lower the heat to 350°F (175°C) and continue baking for another 35 to 40 minutes. You’re looking for a golden crust and bubbling juices at the edges.
With those steps, you’ve made a homemade elderberry pie the old-fashioned way — simple, honest, and bursting with flavor. Perfect for holidays, harvest season, or whenever you want a dessert that feels a little extra special.
Top Tranding Posts

Vinícius Jr. Transfer to Chelsea: Truth Behind the Rumor, Facts & Insights

Before You Buy Exercise Equipment – Save Money & Time

You Won’t Believe What Ronaldo Just Said About African Football

Cristiano Ronaldo Fast & Furious 11 Trailer: Real or Viral Rumor?

This Was Never Supposed to Go Public – The PSG Leak Explained
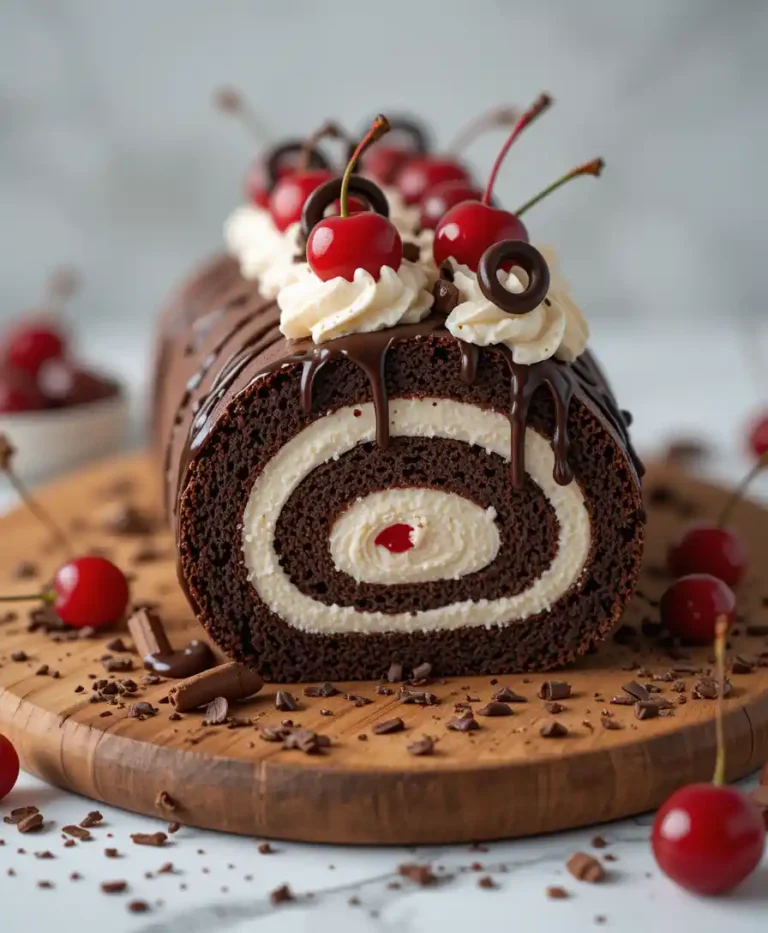
Chocolate Swiss Roll Cake
Baking Tips & Tricks to Nail Your Elderberry Pie Every Time
Elderberry pie has a mind of its own — it’s not your everyday fruit pie. To help yours turn out just right (not runny, soggy, or bland), here are some unique and practical baking tips that come from experience, not guesswork.
1. Chill Everything — Not Just the Dough
Most people know to chill their pie dough, but take it one step further. Chill your rolling pin, your flour, even the pie plate if you can. When every part stays cool, your crust stays crisp and holds its shape better in the oven.
2. Don’t Skip the Berry Check
Fresh elderberries sometimes sneak in with a bit of stem still attached. Give them a quick once-over before cooking — stems can leave a bitter taste and a weird texture in your filling.
3. Simmer the Berries Gently
When you cook the filling, don’t crank the heat. A low simmer lets the elderberries break down slowly and release their flavor without turning to mush. This gives your pie a full-bodied texture instead of one flat, overcooked note.
4. Use Lemon to Lift the Flavor
Elderberries on their own are deep and earthy. A splash of lemon juice or zest doesn’t just balance the sweetness — it brightens everything and adds just enough acidity to make the filling feel alive. It’s the detail that makes your pie stand out.
5. Make Room for the Steam
The top crust needs somewhere for steam to go. Even if you don’t go for a lattice, always add slits. No vents = trapped moisture = soggy top crust and overflow.
6. Get the Filling Thickness Right
Not too runny, not too dry — aim for a filling that just coats the spoon and slowly slides off. If it’s too thin before baking, it’ll never fully set. Cornstarch works best, but don’t add it all at once. Let the filling thicken as it cooks, and trust your eyes.
7. Let It Sit Before You Slice
It’s tempting to cut into a warm pie, but wait until it’s completely cooled. Giving it time allows the filling to firm up. This makes for clean slices and keeps your bottom crust from turning to mush after the first cut.
8. Don’t Overfill the Dish
If the berries are piled too high, they’ll bubble over and make a mess in your oven. Stick to the level of the rim — no need to dome the top. You’ll still get a hearty slice without overflow.
9. Use the Right Pie Plate
If you’ve got a choice, use a metal or glass plate. They transfer heat better than ceramic, which helps your crust bake through and get golden on the bottom — not pale and underdone.
That’s how you turn a humble elderberry pie into something that looks polished and tastes unforgettable. These aren’t just technical tips — they’re the little habits that experienced home bakers rely on to get it right every time.

Storage & Leftover Tips for Elderberry Pie
So you baked a beautiful elderberry pie — now what? Whether you made it ahead of time or have a few slices left over (lucky you), storing it the right way keeps the crust crisp and the filling flavorful.
Here’s exactly how to handle leftovers, reheat without ruining the texture, and freeze pie like a pro.
How to Store Elderberry Pie at Room Temperature
If your kitchen isn’t too warm, you can leave elderberry pie out for up to 24 hours. Just cover it loosely with foil or a clean kitchen towel to keep it from drying out.
Tip: Avoid plastic wrap — it traps moisture and can make your crust soggy by the next morning.
Refrigerating Elderberry Pie
To keep your pie fresh for several days, refrigerate it after the first day. Let the pie cool completely before covering it with foil or placing it in an airtight container.
- Fridge life: Up to 4–5 days
- Texture note: The crust may soften slightly, but the flavor will stay rich and full
Want to crisp up the crust again? See reheating tips below.
Freezing Elderberry Pie
Elderberry pie freezes surprisingly well. You can freeze it either before or after baking, depending on your schedule.
To freeze a baked pie:
- Let it cool completely.
- Freeze for up to 3 months.
When ready to serve, thaw overnight in the fridge and warm in a 300°F (150°C) oven for about 20 minutes.
To freeze an unbaked pie:
- Assemble the pie fully in a metal or disposable pie plate.
- Wrap well and freeze solid.
- Bake straight from frozen, adding 15–20 minutes to the total baking time.
Reheating Tips
Want that fresh-baked taste again? Here’s how to reheat a slice or the whole pie without overdoing it.
- Single slice: 10–12 minutes at 325°F (160°C) in the oven or toaster oven
- Whole pie: 20–25 minutes at 325°F, loosely covered with foil to prevent over-browning
Avoid the microwave — it turns the crust chewy and steams the filling.
How to Tell If Your Elderberry Pie Has Gone Bad
- Off smell or sour taste
- Watery or mushy filling
- Mold on the crust or filling
When in doubt, toss it. Fruit pies last a while, but they’re still perishable.
Handled right, your elderberry pie can be enjoyed over several days — or saved for a rainy weekend down the road. Whether it’s eaten warm with a scoop of vanilla or cold from the fridge, it’s a treat that rarely goes to waste.
The Latest Posts
Vinícius Jr. Transfer to Chelsea: Truth Behind the Rumor, Facts & Insights
Before You Buy Exercise Equipment – Save Money & Time
You Won’t Believe What Ronaldo Just Said About African Football
Serving Suggestions for Elderberry Pie
Elderberry pie brings rich, old-world flavor to the table, but what you serve alongside it can take it to the next level. Whether you’re baking for a holiday, family gathering, or just because, here are a few ideas that elevate your pie from good to unforgettable.
1. Classic Vanilla Ice Cream
A scoop of vanilla ice cream melting into a warm slice of elderberry pie is a timeless combination. The cold creaminess pairs perfectly with the tart, jammy filling.
2. Fresh Whipped Cream
Light and fluffy whipped cream adds contrast without overpowering the berry flavor. For extra flavor, whip with a touch of vanilla or almond extract.
3. Citrus Garnish
Lemon or orange zest grated lightly over the pie adds a burst of brightness. It works especially well if your filling leans on the earthy side.
4. Cheddar Cheese (Yes, Really)
In some regions, fruit pies are served with a slice of sharp cheddar cheese — and it works. The salty tang of cheese balances out the sweet-tart elderberries.
5. Coffee or Black Tea
The deep flavor of elderberries pairs well with bold, unsweetened drinks like black coffee or strong breakfast tea. Skip the sugar — let the pie shine.
6. Seasonal Twist
Serve it with roasted nuts in fall, edible flowers in spring, or a cinnamon sprinkle in winter. The pie’s versatile flavor matches every season.

Health Benefits of Elderberries
Elderberries don’t just taste great in a pie — they’ve been used for centuries as a natural remedy and seasonal immune booster. Here’s what makes these little berries a nutritional powerhouse:
1. Rich in Antioxidants
Elderberries are packed with anthocyanins, the compounds that give them their deep purple color. These antioxidants help reduce inflammation and protect your cells from oxidative stress.
2. Supports Immune Function
Elderberries are known for their immune-boosting properties. They’ve long been used in syrups and teas to help shorten cold and flu symptoms.
3. High in Vitamin C
Just one serving of elderberries provides a strong dose of vitamin C — essential for immune health, skin function, and collagen production.
4. Good Source of Fiber
Elderberries contain dietary fiber that supports digestive health and helps keep you feeling full longer.
5. May Promote Heart Health
Some studies suggest that elderberry extracts may help reduce cholesterol and improve blood vessel function, making them a friend to cardiovascular wellness.
6. Natural Anti-Inflammatory
Compounds in elderberries may help reduce inflammation, making them potentially helpful for people managing chronic conditions.
Note: Elderberries should always be cooked before eating. Raw or unripe berries can contain compounds that may cause digestive discomfort.
With a slice of elderberry pie, you’re not just enjoying a dessert — you’re getting a sweet dose of nature’s goodness, one bite at a time.
Top Trending Recipes
Vinícius Jr. Transfer to Chelsea: Truth Behind the Rumor, Facts & Insights
Before You Buy Exercise Equipment – Save Money & Time
You Won’t Believe What Ronaldo Just Said About African Football
Cristiano Ronaldo Fast & Furious 11 Trailer: Real or Viral Rumor?
This Was Never Supposed to Go Public – The PSG Leak Explained
Chocolate Swiss Roll Cake
Wrapping Up: My Experience with This Elderberry Pie
Baking this elderberry pie was truly a rewarding experience. From mixing the flaky crust to watching the vibrant filling bubble in the oven, every step reminded me why homemade desserts are so special. The rich, tangy flavor of the elderberries combined with the buttery crust created a comforting treat that I couldn’t wait to share with family and friends.
Thank you for joining me on this baking journey! I hope this recipe inspires you to try something new and enjoy the process as much as the delicious results.
If you loved this elderberry pie recipe, be sure to explore more of my posts on Joyful Cakes — there are plenty of sweet ideas, baking tips, and tasty treats waiting for you.
Related Recipes You Will Love
Nutritional Information & Recipe Summary
- Preparation Time: 25 minutes
- Cooking Time: 55 minutes
- Total Time: 1 hour 20 minutes
- Type: Dessert / Pie
- Cuisine: American / Traditional
- Recipe Yield: 8 servings
- Calories: Approximately 320 calories per serving
Frequently Asked Questions About Elderberry Pie
1. Can I use frozen elderberries for elderberry pie?
Yes, frozen elderberries work great for elderberry pie. Just thaw and drain them well to avoid excess moisture that could make the pie filling runny.
2. How do I prevent a soggy crust in elderberry pie?
To avoid a soggy crust, make sure to cook and thicken the elderberry filling before adding it to the pie. Also, chilling the dough well and baking on the lower oven rack helps crisp the bottom crust.
3. What thickener is best for elderberry pie filling?
Cornstarch is the most commonly used thickener for elderberry pie filling as it creates a smooth, glossy finish. Tapioca starch is an alternative if you prefer a slightly firmer texture.
4. Are elderberries safe to eat raw?
No. Raw elderberries contain compounds that can cause stomach upset. Always cook elderberries thoroughly before using them in recipes like pie.
5. How long does elderberry pie last?
Properly stored in the refrigerator, elderberry pie lasts up to 4–5 days. It’s best enjoyed within this timeframe for optimal freshness and texture.
6. Can elderberry pie filling be frozen?
Yes, you can freeze elderberry pie filling separately or freeze a fully baked pie wrapped tightly. Thaw overnight before baking or reheating.
7. What to serve with elderberry pie?
Elderberry pie pairs beautifully with vanilla ice cream, whipped cream, or even sharp cheddar cheese for a savory contrast.