
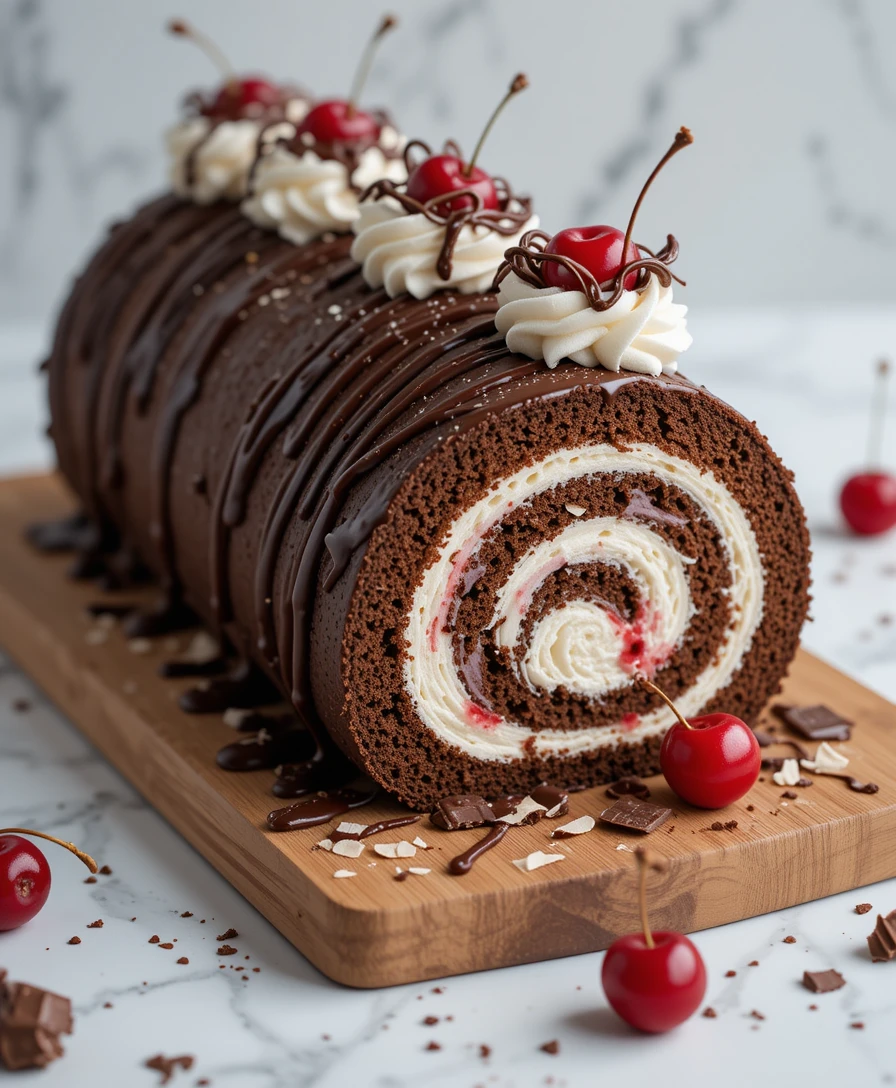
Chocolate Swiss Roll Cake
There’s something almost magical about slicing into a Chocolate Swiss Roll Cake. That swirl of sponge and cream feels like a promise—you’ve done it right. It’s one of those desserts that can impress a crowd without demanding a lawyer’s salary or a finance degree to pull off. All you need is a little know-how, some reliable kitchen equipment, and the willingness to roll with it—literally.

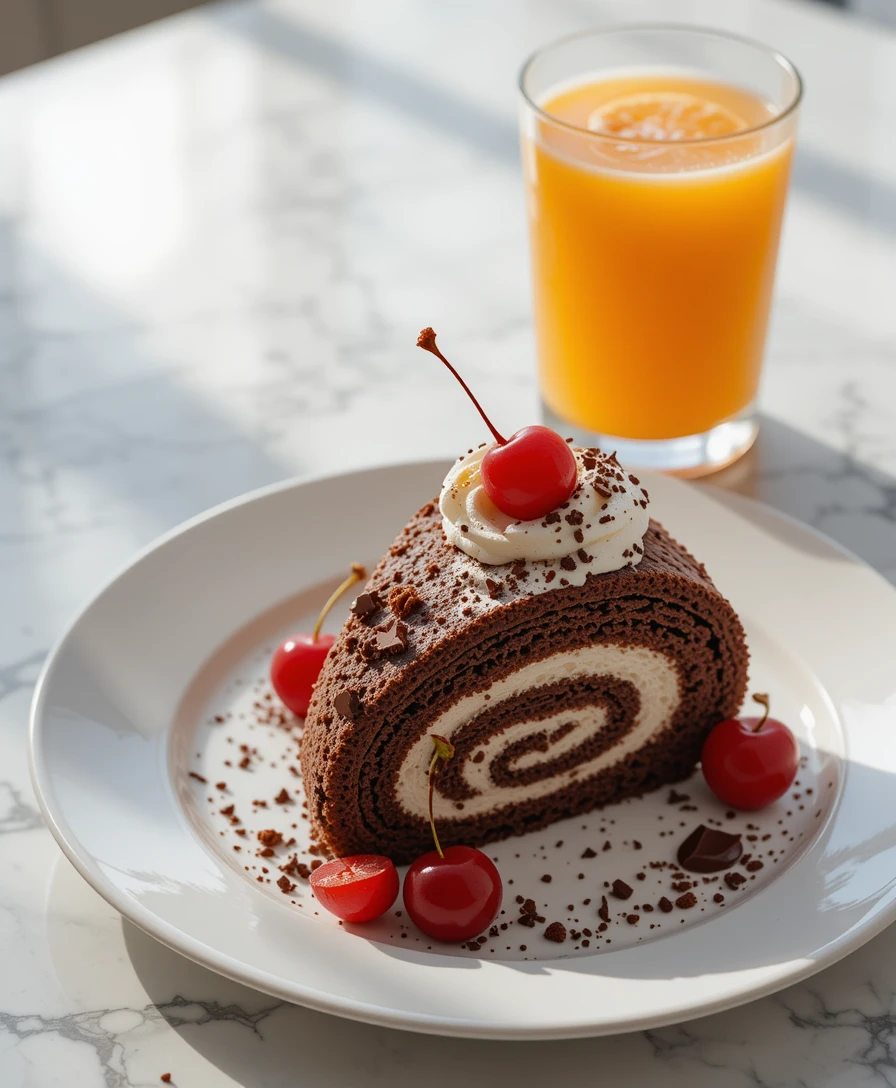
This cake isn’t just about sweetness; it’s about balance. You get the richness of cocoa, the lightness of sponge, and the creaminess of the filling all in one bite. It’s the kind of balance we all look for, whether it’s in health, money, or even choosing the right insurance plan for peace of mind. Once you’ve mastered the roll, you’ll realize it’s not only doable—it’s a recipe you’ll keep coming back to whenever you want something elegant, nostalgic, and unforgettable.


Ingredients for Chocolate Swiss Roll Cake
Here’s what you’ll need to bring this bakery-style classic to life. Don’t worry, the list is simple — no fancy lawyer contracts required, just good pantry staples and a little smart planning (the same way you’d manage your personal finance).
For the Chocolate Sponge:
- 4 large eggs – room temperature works best.
- ½ cup granulated sugar – adds sweetness and structure.
- ⅓ cup all-purpose flour – the backbone of your sponge.
- ¼ cup cocoa powder – go for high-quality dark cocoa for depth of flavor.
- 1 teaspoon baking powder – ensures a light, airy roll.
- Pinch of salt – enhances the chocolatey taste.
For the Creamy Filling:
- 1 cup heavy whipping cream – cold for best results.
- 2 tablespoons powdered sugar – keeps it light and smooth.
- 1 teaspoon vanilla extract – pure vanilla if possible.
- (Optional) mascarpone or cream cheese for a richer texture.
For the Finishing Touch:
- Powdered sugar or cocoa powder – a light dusting for that café-style look.
- Chocolate ganache or drizzle – optional, but takes it over the top.
💡 Pro Tip:
When choosing ingredients, think of it like health insurance for your dessert — the better the coverage (quality), the safer your outcome. Splurging on high-quality cocoa or vanilla is a small financial investment that pays big dividends in taste. And just like the right equipment makes baking easier, the right ingredients guarantee success.
Supplies & Equipment You’ll Need
Making a Swiss roll is all about having the right tools. Think of your kitchen equipment like a good financial plan — reliable, smart, and designed to protect your efforts (kind of like insurance for your dessert). Here’s what you’ll need:
1. Non-Stick Swiss Roll Pan
The perfect size pan makes rolling easier and ensures even baking. A non-stick surface prevents your sponge from sticking and tearing.
👉 Grab your Swiss Roll Pan on Amazon here
2. Electric Mixer (Hand or Stand)
Whipping eggs and cream until fluffy can be exhausting by hand. An electric mixer gives you consistent, light textures every single time.
👉 Get your Electric Mixer on Amazon here
3. Parchment Paper
This simple kitchen essential saves you from cracked cakes and sticky disasters. Lay it down before baking and roll with confidence.
👉 Order Parchment Paper from Amazon here
4. Offset Spatula
A must-have for spreading filling smoothly. It keeps the cream layer even and gives your roll that bakery-level finish.
👉 Shop Offset Spatula on Amazon here
5. Cooling Rack
Cooling your sponge properly keeps the texture light and prevents sogginess. A cooling rack is a game-changer for desserts like this.
👉 Find Cooling Rack on Amazon here
💡 Pro Tip: Just like smart finance or solid health insurance, these tools are small investments that guarantee big payoffs in your baking success.
Step-by-Step Instructions
Alright, now it’s time to roll up our sleeves and actually bake this beauty. Don’t worry — I’ve made this Chocolate Swiss Roll Cake plenty of times, and I can tell you firsthand: once you’ve got the right equipment and follow these steps, it’s way easier than it looks. Think of it like smart financial planning — do it right from the start, and everything falls into place.
Step 1: Prep & Protect
Preheat your oven to 350°F (175°C). Line your Swiss roll pan with parchment paper and lightly grease it. This little move is your cake’s health insurance policy — no sticking, no tearing, no disasters.
Step 2: Build the Base
In a mixing bowl, beat together eggs and sugar with an electric mixer until they’re pale and fluffy. This step is where the magic happens, and having the right equipment makes all the difference.
Step 3: Fold & Bake
Sift in the flour, cocoa, baking powder, and salt. Gently fold, then spread the batter into your prepared pan. Bake for 10–12 minutes until the sponge springs back. Quick, simple, done.
Step 4: Roll & Cool
Turn the warm cake out onto a towel dusted with powdered sugar. Peel off the parchment and roll it up (towel inside). This “training roll” is like a lawyer’s contract — it keeps things smooth and prevents cracks later.
Step 5: Fill, Roll & Finish
Whip cream, sugar, and vanilla until fluffy. Unroll the cooled sponge, spread the filling evenly, then roll it back up tight. Dust with cocoa or finish with ganache. Chill, slice, and enjoy your homemade masterpiece.
💡 Pro Tip: Just like in finance, a little patience and planning here pays off in the long run — every swirl is worth it.
More Easy Quick Recipes

المؤشرات كلها تميل لطرف واحد في نهائي المغرب والأردن

رونالدو يتنبأ ببطل كأس العرب: «منتخب واحد فقط يملك عقلية الفوز باللقب»
Conclusion
Baking this Chocolate Swiss Roll Cake was such a joy — from whipping the eggs to seeing that perfect swirl come together, it’s one of those recipes that makes you feel like a pro in your own kitchen. Using the right equipment really makes all the difference, and investing a little in quality tools is like smart financial planning — it pays off every single time.
I hope you enjoyed making this cake as much as I did. Thanks for hanging out with me in the kitchen! If you loved this recipe, don’t stop here — check out more of my chocolate desserts, tips for healthier baking, and step-by-step guides that make cooking fun and stress-free. Your next sweet masterpiece is just a click away!
Related Recipes You Will Love
- Cake Sizing Guide
- Chocolate Ding Dong Cake
- Mom Day Cake
- Cake Business Insurance
- Girlish Cake Design
- Flower Birthday Cake
Frequently Asked Questions
1. Why did my Swiss roll crack while rolling?
Cracking usually happens if the sponge cools too long before rolling or if it’s a bit overbaked. Using a non-stick pan and rolling the cake while it’s still warm (with a towel inside) prevents most cracks. Think of it like a health insurance policy for your dessert — a little protection up front saves stress later!
2. Can I make the Swiss roll ahead of time?
Absolutely! You can prepare it a day in advance and store it in the fridge, tightly wrapped in plastic wrap. This gives the flavors time to meld. Proper storage is like financial planning — a little foresight prevents any messy surprises.
3. Can I use a different filling?
Yes! You can swap whipped cream for mascarpone, chocolate ganache, or even a fruit-based filling. Just make sure your equipment (like an offset spatula) allows for smooth spreading, or the roll can get messy.
🌟 Customer Reviews & Testimonials
Here’s what fellow bakers are saying after trying this Chocolate Swiss Roll Cake recipe:
⭐⭐⭐⭐⭐ “A total game-changer!” – Emily R.
“I tried this recipe last weekend and wow — it turned out perfect! The sponge was so light and the filling creamy. Using the recommended equipment made all the difference. I feel like I just leveled up in my baking skills!”
⭐⭐⭐⭐⭐ “Looks fancy, tastes even better!” – Marcus T.
“Honestly, I was nervous about rolling the cake without it cracking, but the tips in this guide worked like magic. The cake looked like something you’d pay a lot for at a bakery — but it didn’t cost me a fortune, and I saved some cash for other things, like upgrading my kitchen equipment!”
⭐⭐⭐⭐ “Family-approved and kid-friendly” – Lisa P.
“My kids went crazy over this Swiss roll! I followed the steps exactly, and it was so easy to make. I love that the recipe includes guidance on the right tools — just like having insurance for your baking disasters. Highly recommend!”
⭐⭐⭐⭐⭐ “Perfect for gifts or parties” – James K.
“I made this for a friend’s birthday, and everyone asked for the recipe. The balance of chocolate and cream is spot on. I even bought a few of the recommended tools from Amazon, and it made the whole process smooth and stress-free.”
Leave a quick review and let me know how it went!