
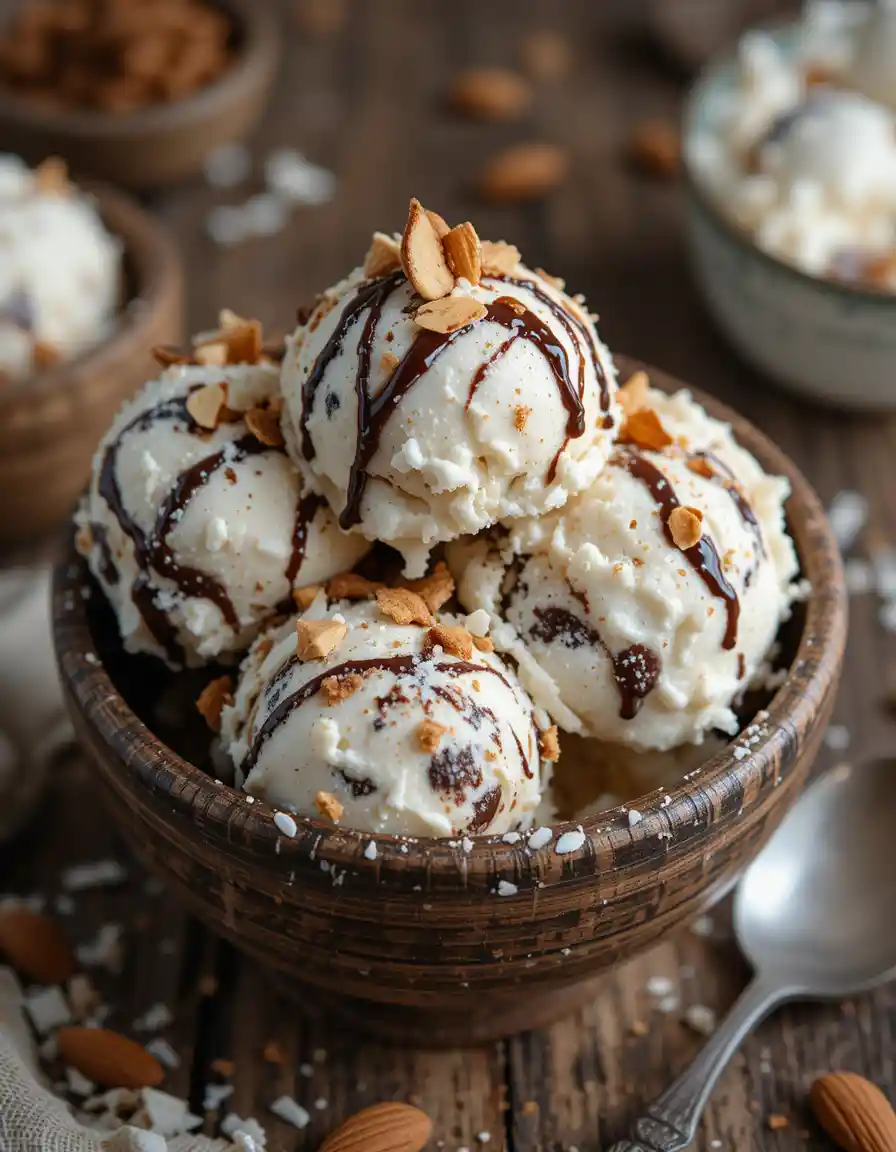
Almond Joy Ice Cream
Almond Joy ice cream is the perfect blend of coconut, chocolate, and almonds in every creamy bite. If you’ve ever wished your favorite candy bar could be transformed into a cold, refreshing dessert, this is exactly what you’ve been looking for.

Let’s face it—most store-bought ice cream doesn’t deliver that rich, homemade flavor. Some are too icy, others lack real coconut taste, and many skip the satisfying crunch of roasted almonds. But making it at home? That changes everything.
In this post, you’ll learn how to make Almond Joy ice cream from scratch using simple ingredients and an easy method that doesn’t even require an ice cream maker. We’ll cover everything—from the ingredients you’ll need to expert tips, variations, and how to store it for later. Whether you’re making it for a weekend treat or a summer party, this recipe brings bold flavor and creamy texture to your kitchen.
Let’s get started with a recipe that delivers the best of both worlds—candy and ice cream combined.
Table of Contents
Nutritional Information for Almond Joy Ice Cream
- Preparation Time: 15 minutes
- Cooking Time: 0 minutes (no cooking required)
- Total Time: 6 hours 15 minutes (includes freezing time)
- Type: No-Churn Ice Cream, Dessert
- Cuisine: American, Homemade
- Recipe Yield: Approximately 8 servings
- Calories: About 320 calories per serving
Why You’ll Love This Almond Joy Ice Cream
This Almond Joy ice cream isn’t just another frozen dessert—it’s a full-on flavor experience that brings your favorite candy bar to life in the creamiest way possible. Whether you’re a coconut lover or a chocolate fanatic, this recipe checks all the boxes.
Here’s why you’ll keep coming back for more:
- It tastes like the real thing – The classic blend of sweet coconut, rich chocolate, and crunchy almonds is spot-on.
- No ice cream maker needed – You can whip this up in your kitchen with basic tools.
- Perfectly creamy texture – Thanks to a no-churn method and a smart mix of ingredients, every scoop is soft, rich, and satisfying.
- Crowd-pleaser – This ice cream is always a hit at parties, summer cookouts, or casual family nights.
- Customizable – Want extra chocolate? Swirl it in. Prefer dark chocolate chunks over milk? Go for it.
If you’re tired of overpriced pints that don’t deliver on flavor, this homemade Almond Joy ice cream is your new go-to. It’s simple, fun to make, and seriously delicious.
Almond Joy Ice Cream: Ingredients & Tools Needed
Before we dive into the mixing and magic, let’s make sure you’ve got everything you need on hand. I’ve learned that having your ingredients prepped and tools ready makes the whole process faster—and way more fun. Here’s exactly what I use every time I make this Almond Joy ice cream at home.
Ingredients
- 2 cups heavy whipping cream
Keep it cold—this is the secret to a fluffy, creamy base. - 1 tsp pure vanilla extract
Enhances all the other flavors. - ¾ cup semi-sweet or dark chocolate chips (or chopped chocolate)
Adds bold chocolate bites in every scoop. - ½ cup chopped roasted almonds
Use unsalted, roasted almonds for a satisfying crunch. - Optional: ¼ cup chocolate syrup or fudge swirl
If you like a ripple of rich chocolate throughout.
Tools
- Large mixing bowl
You’ll need room to whip and fold everything together. - Hand mixer or electric stand mixer
To whip the cream into stiff peaks—this makes the texture extra airy. - Rubber spatula
Perfect for folding without flattening the mix. - Loaf pan or freezer-safe container (1.5–2 quarts)
A metal loaf pan helps the ice cream freeze faster and more evenly.
And that’s everything you’ll need to get started—nothing fancy, just simple ingredients and basic tools you probably already have at home. Once you’ve got it all set out in front of you, the fun part begins. Let’s move on to the step-by-step recipe instructions, and I’ll show you exactly how to turn these ingredients into a creamy, dreamy Almond Joy ice cream you’ll want to make again and again.
Top Trending Posts

Vinícius Jr. Transfer to Chelsea: Truth Behind the Rumor, Facts & Insights

Before You Buy Exercise Equipment – Save Money & Time

You Won’t Believe What Ronaldo Just Said About African Football

Cristiano Ronaldo Fast & Furious 11 Trailer: Real or Viral Rumor?

This Was Never Supposed to Go Public – The PSG Leak Explained
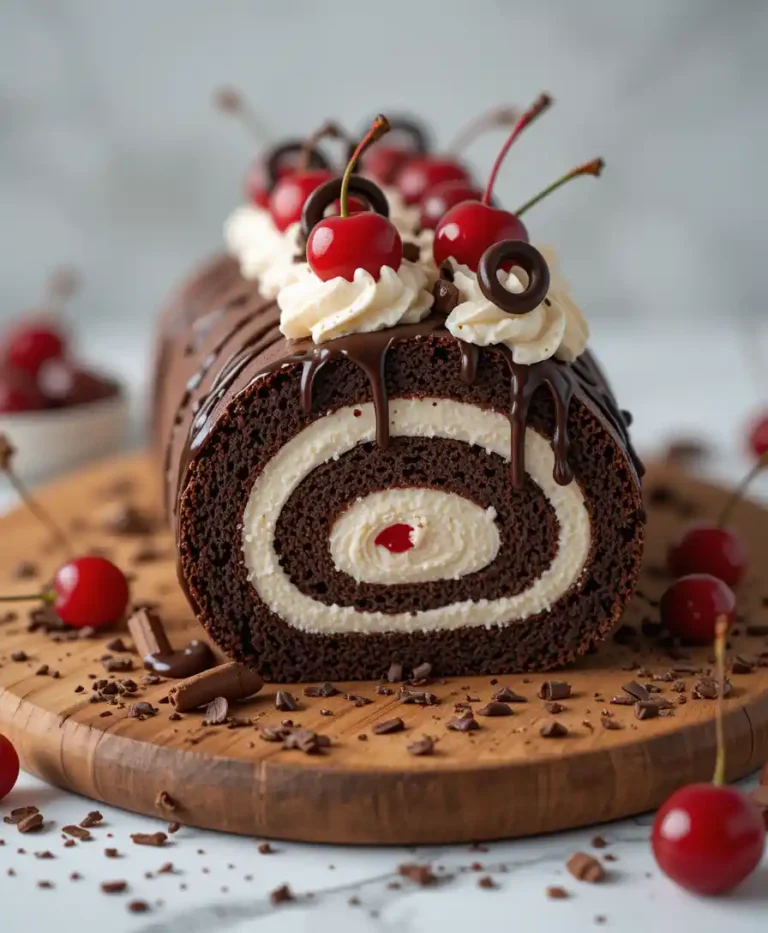
Chocolate Swiss Roll Cake
Almond Joy Ice Cream: Step-by-Step Recipe Instructions
Now that we’ve got everything prepped and ready, it’s time to bring this recipe to life. I’ve made this Almond Joy ice cream more times than I can count, and I’ll walk you through it just like I do in my kitchen. No stress, no fancy tools—just simple steps that lead to one seriously delicious homemade treat. Let’s get started.
Step 1: Toast Your Coconut for Extra Flavor
To bring out the best flavor, toast your shredded coconut in a dry skillet over medium heat. Stir it often and keep an eye on it—it should turn a warm golden brown and smell amazing in about 4 minutes. Let it cool completely before adding to your ice cream base.
Step 2: Whip the Cream Until Fluffy
Take your cold heavy cream and whip it using a mixer until it holds firm peaks. This means when you lift the beaters, the cream stands up without falling over. This fluffy texture is what makes your ice cream creamy without needing an ice cream maker.
Step 3: Combine Sweetened Condensed Milk and Vanilla
In a separate bowl, stir together the sweetened condensed milk and vanilla extract. This mixture adds smooth sweetness and richness, the perfect balance to the whipped cream.
Step 4: Gently Fold the Cream into the Condensed Milk
Using a spatula, carefully fold the whipped cream into the condensed milk mixture. Be gentle—folding keeps the air trapped inside so your ice cream stays light and fluffy instead of dense.
Step 5: Add in the Good Stuff: Coconut, Almonds, and Chocolate
Next, fold in the toasted coconut, chopped roasted almonds, and chocolate chips or chunks. For a fun twist, swirl in some chocolate syrup or fudge, but don’t overdo it—just enough to get those delicious ribbons of chocolate throughout.
Step 6: Freeze Your Ice Cream to Set
Transfer your ice cream mixture into a freezer-safe container or loaf pan. Cover tightly with plastic wrap or a lid to keep out any freezer odors. Freeze it for at least 6 hours, or overnight if you can wait—the longer, the creamier.
And that’s all it takes—ten simple steps to a homemade Almond Joy ice cream that’s rich, creamy, and packed with texture. Once you’ve tried it, you’ll never look at store-bought the same way again. Before you grab a spoon, let me share a few tips I’ve picked up along the way to help you get the best results every single time.
Almond Joy Ice Cream – Expert Tips for Perfect Results
After making this recipe more times than I can count, I’ve picked up a few tricks that really make a difference. These aren’t complicated—just simple things that help the texture stay creamy, the flavors shine, and the final scoop come out just right. If it’s your first time or your tenth, these expert tips will help you get perfect results every time.
1. Don’t overmix the whipped cream
It’s tempting to keep going, but once you hit stiff peaks, stop mixing. Over-whipping can cause the cream to turn grainy, which affects the smoothness of your ice cream.
2. Toast the coconut and almonds ahead of time
This step may seem optional, but it adds incredible depth of flavor. Toasting releases oils in both the coconut and almonds, giving your ice cream a warm, nutty taste.
3. Chop mix-ins evenly
Large chunks of almonds or chocolate can freeze hard. A rough, even chop ensures every bite is balanced without being too crunchy or tough to scoop.
4. Swirl, don’t stir, the chocolate syrup
If you’re adding a fudge swirl or chocolate syrup, pour it in and use a butter knife to create ribbons. Stirring it fully will just mix it into the base and take away that ripple effect.
5. Cover tightly to avoid ice crystals
Air exposure leads to freezer burn. Press plastic wrap directly onto the surface before sealing the container, or use an airtight lid to keep your ice cream fresh and creamy.
6. Let it soften before serving
Homemade no-churn ice cream can freeze pretty hard. Leave it on the counter for 5–10 minutes before scooping for the perfect texture.
7. Add a pinch of salt
It may sound odd, but a small pinch of sea salt in the base helps balance the sweetness and enhance the chocolate flavor.
And there you have it—just a few small tweaks that can make a big difference in your final result. Once you get the hang of it, this recipe becomes second nature. But if you’re like me and enjoy getting creative in the kitchen, you’ll love the next part.
The Latest Recipes
Vinícius Jr. Transfer to Chelsea: Truth Behind the Rumor, Facts & Insights
Before You Buy Exercise Equipment – Save Money & Time
Almond Joy Ice Cream Variations & Add-Ins
Now that you know how to make the classic Almond Joy ice cream, it’s time to have a little fun with it. Over time, I’ve experimented with different flavors and mix-ins that take this dessert to the next level. Whether you want to keep it simple or get creative, these variations and add-ins will inspire you to make the recipe your own.
1. Dark Chocolate Upgrade
Swap milk chocolate chips for chopped dark chocolate or 70% cacao bars for a bolder, less sweet flavor that really complements the coconut.
2. Mocha Coconut Twist
Add 1 tablespoon of instant espresso powder to the condensed milk mixture for a subtle coffee flavor that pairs beautifully with the chocolate and coconut.
3. Caramel Swirl
Drizzle in some thick caramel sauce along with the chocolate syrup to create gooey layers of extra indulgence. Swirl it gently with a knife for ribbons, not blobs.
4. Double Coconut Delight
Use coconut cream instead of regular heavy cream and top with extra toasted coconut for an ultra-rich, dairy-free version (just make sure your condensed milk is also dairy-free!).
5. Crushed Cookie Layer
Add a layer of crushed chocolate wafers or graham crackers between scoops before freezing for a bit of crunch and texture contrast.
And that’s just the beginning—playing around with different ingredients keeps things exciting and lets you customize the ice cream exactly how you like it. Next up, I’ll share the Nutritional Information so you know exactly what’s in each scoop. Plus, you’ll get tips on serving sizes and how to fit this treat into your balanced lifestyle.
The Latest Recipes
Vinícius Jr. Transfer to Chelsea: Truth Behind the Rumor, Facts & Insights
Before You Buy Exercise Equipment – Save Money & Time
You Won’t Believe What Ronaldo Just Said About African Football
Cristiano Ronaldo Fast & Furious 11 Trailer: Real or Viral Rumor?
This Was Never Supposed to Go Public – The PSG Leak Explained
Chocolate Swiss Roll Cake
Almond Joy Ice Cream Serving Suggestions
After all that hard work making your homemade Almond Joy ice cream, you want to enjoy it in style. I like to keep things simple but delicious, so here are some easy serving ideas that highlight the flavors and add a little extra wow factor to every scoop.
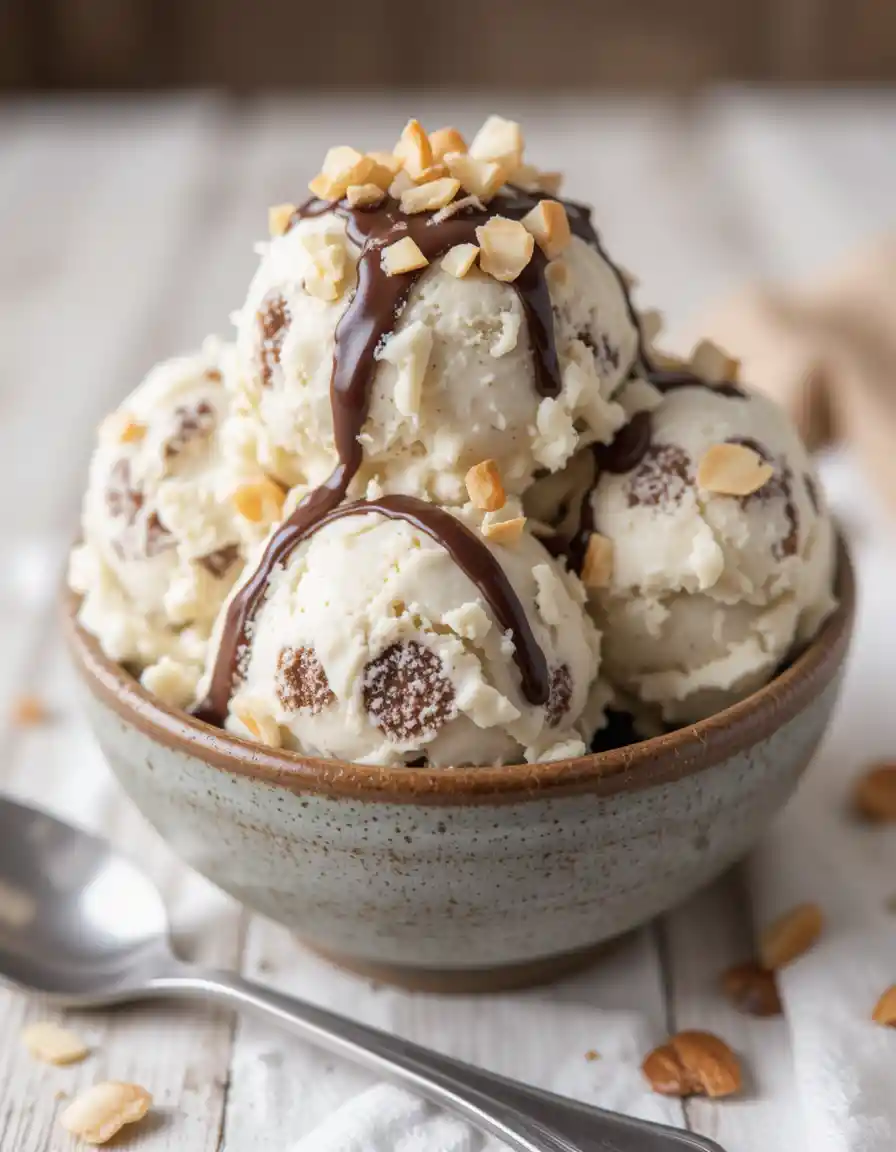
Serve with Toasted Coconut and Almonds
Sprinkle a little extra toasted coconut and chopped almonds on top to boost the crunch and make every bite a texture party.
Drizzle with Warm Chocolate or Caramel Sauce
A light drizzle of warm chocolate or caramel sauce takes the ice cream from tasty to downright indulgent. Perfect for special occasions or when you need a little extra comfort.
Pair with Fresh Fruit
Serve scoops alongside fresh pineapple chunks, sliced bananas, or juicy berries. The natural sweetness and acidity balance the richness of the ice cream beautifully.
Use as an Ice Cream Sandwich
Sandwich your Almond Joy ice cream between two soft chocolate chip cookies or coconut macaroons for a fun handheld treat.
Serve in a Toasted Waffle Cone
For a classic touch, scoop the ice cream into a waffle cone that’s lightly toasted for extra crunch and flavor.
And there you have it—simple but satisfying ways to serve your homemade Almond Joy ice cream that will impress family and friends alike. Up next, we’ll cover the Nutritional Information so you know exactly what’s in each delicious bite.

Almond Joy Ice Cream Storage Tips
Once you’ve made your delicious Almond Joy ice cream, proper storage is key to keeping it fresh and creamy. I’ve learned a few simple tricks over the years that help maintain the perfect texture and flavor—even after days in the freezer.
Choose the Right Container
Always store your ice cream in a container that seals tightly. I prefer using freezer-safe containers with snap-on lids because they lock in freshness and keep unwanted freezer smells out.
Cover the Surface Directly
To avoid that pesky ice crust, press a piece of parchment paper or plastic wrap directly onto the surface of the ice cream before sealing the container. This little step really helps keep your ice cream smooth.
Thaw Properly Before Serving
Homemade ice cream can get pretty firm in the freezer. Before scooping, leave it out for about 5 to 10 minutes so it softens just enough to scoop easily without melting.
Scoop Smart, Freeze Smart
Only take out what you plan to eat at once. Putting partially melted ice cream back in the freezer can cause icy patches and change the flavor over time.
By following these simple storage tips, your Almond Joy ice cream will taste just as fresh days or even weeks after you make it. Up next, I’ll answer some of the most common questions I get about this recipe, so you can become an ice cream pro in no time.
The Latest Recipes
Vinícius Jr. Transfer to Chelsea: Truth Behind the Rumor, Facts & Insights
Before You Buy Exercise Equipment – Save Money & Time
You Won’t Believe What Ronaldo Just Said About African Football
Cristiano Ronaldo Fast & Furious 11 Trailer: Real or Viral Rumor?
This Was Never Supposed to Go Public – The PSG Leak Explained
Chocolate Swiss Roll Cake
Final Thoughts on Almond Joy Ice Cream
Making Almond Joy ice cream at home has been one of my favorite kitchen adventures. From the first time I mixed those simple ingredients to the moment I took that first creamy, crunchy bite, I knew this recipe was a keeper. It’s rewarding, easy to customize, and always impresses anyone I share it with. I hope you’ve enjoyed this recipe as much as I have enjoyed writing it for you.
Thank you so much for spending your time here and trusting me to guide you through this delicious treat. If you loved this recipe, be sure to check out more of my articles where you’ll find plenty of other sweet ideas and baking tips to keep your kitchen buzzing. Happy cooking and enjoy every scoop!
Related Recipes You Will Love
Almond Joy Ice Cream FAQs
1. What is Almond Joy ice cream made of?
Almond Joy ice cream is a creamy dessert inspired by the classic candy bar, made with toasted coconut, roasted almonds, chocolate chunks or chips, sweetened condensed milk, and heavy cream. This no-churn recipe combines all those flavors into a smooth, homemade treat.
2. How long does homemade Almond Joy ice cream last in the freezer?
Stored properly in an airtight container, homemade Almond Joy ice cream will stay fresh for up to 2 weeks. Be sure to press plastic wrap onto the surface to prevent ice crystals and maintain creamy texture.
3. Can I customize Almond Joy ice cream with other nuts or flavors?
Absolutely! This recipe is very versatile. You can add pecans, cashews, or walnuts instead of almonds, swirl in caramel or fudge sauce, or even add a splash of coffee or vanilla extract to enhance the flavor.
4. What is the best way to serve Almond Joy ice cream?
Serve your Almond Joy ice cream with extra toasted coconut and chopped almonds on top. It’s also great drizzled with warm chocolate or caramel sauce, or paired with fresh fruit like pineapple or berries for a refreshing contrast.