
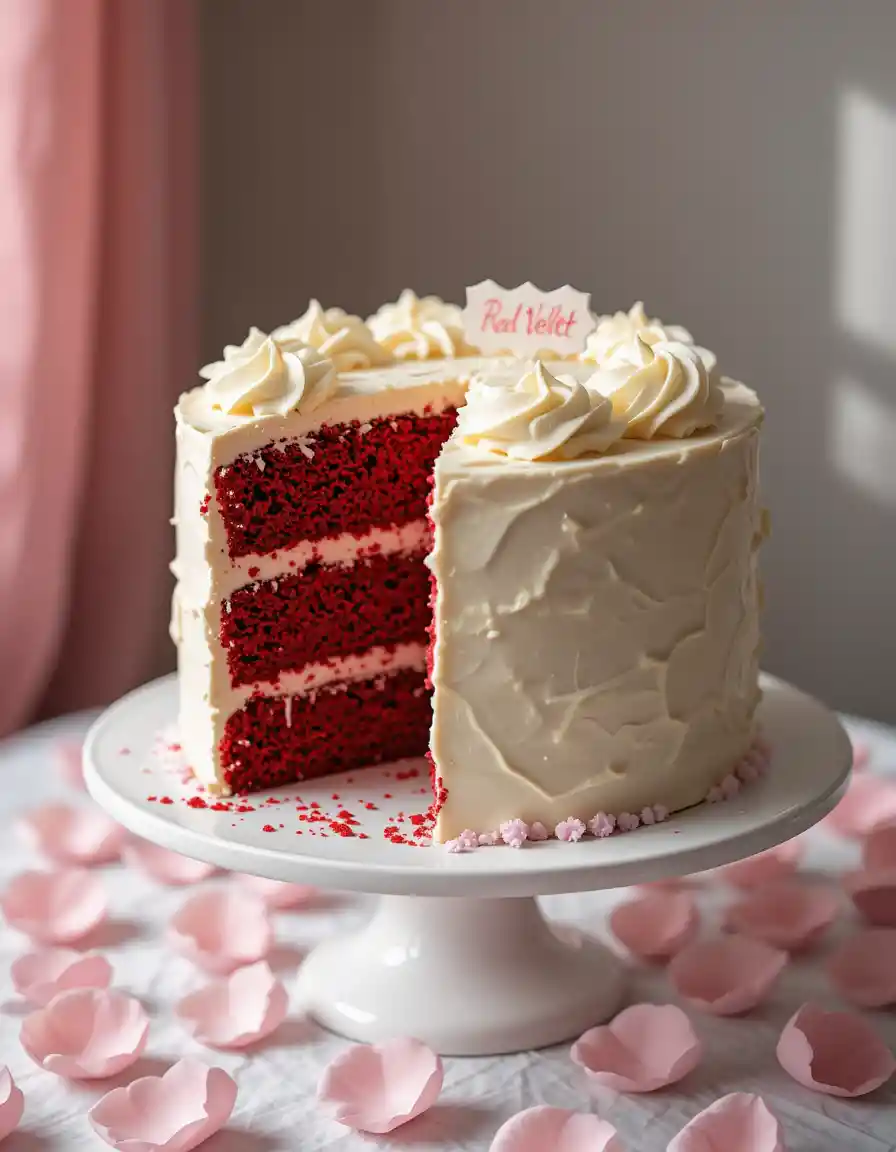
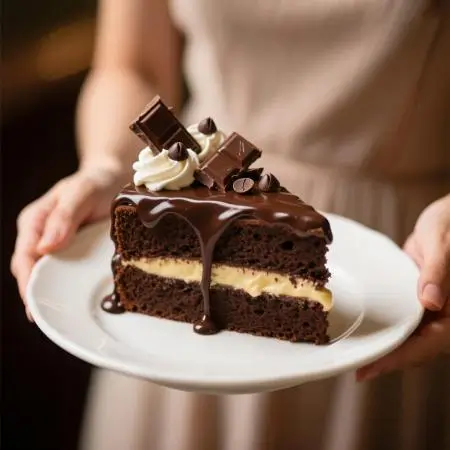
Red Velvet Cake
Red velvet cake is hands down one of the most beloved desserts out there, but have you ever wondered what makes it so irresistible? If you’ve tried baking it before and ended up with a dry or dull cake, you’re not alone. Many people struggle to get that perfect balance of rich flavor, moist texture, and that iconic red color.
In this post, you’ll discover the secrets to baking the best red velvet cake right in your kitchen — from choosing the right ingredients to mastering the steps that bring this classic treat to life. Whether you’re a beginner or just looking to up your baking game, this guide will make sure your next red velvet cake turns out moist, flavorful, and stunning.
So, let’s dive into everything you need to know about making a show-stopping red velvet cake that’ll have everyone asking for seconds!
Table of Contents
What Is Red Velvet Cake? A Quick Look at Its Background and History
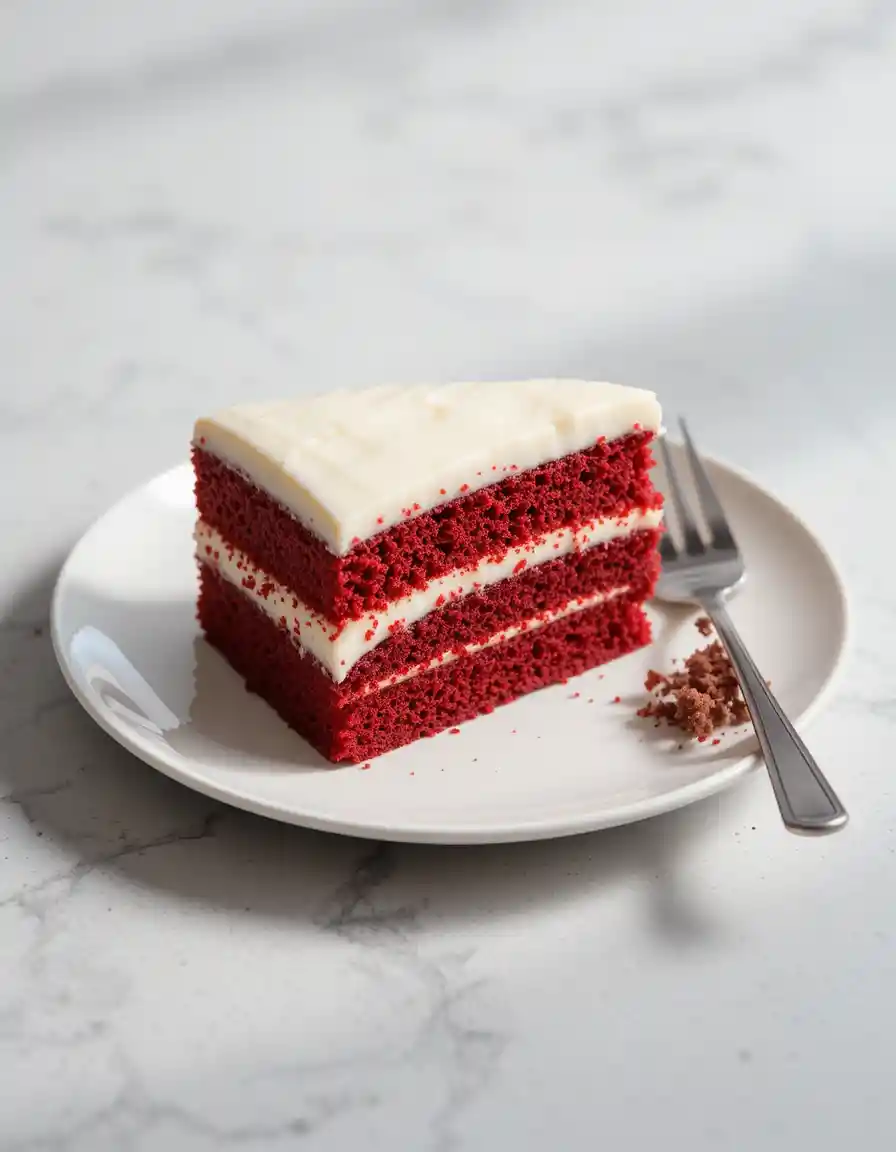
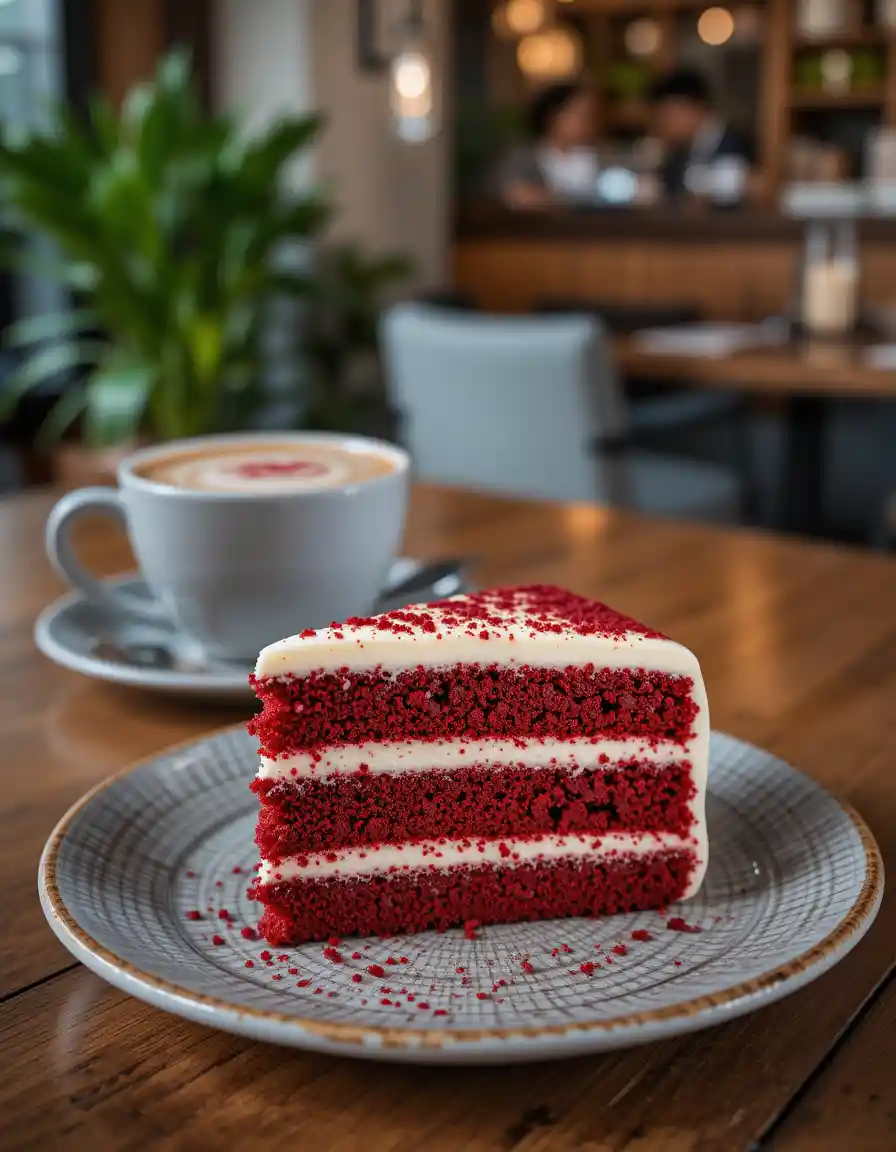
Red velvet cake is not just any ordinary dessert — it’s a showstopper with its striking red color and smooth, velvety texture that melts in your mouth. But what exactly is red velvet cake? Simply put, it’s a soft, tender chocolate cake with a subtle tang from buttermilk and vinegar, layered with creamy, rich cream cheese frosting.
The “red velvet” name comes from that deep red hue and the cake’s luxurious, velvety crumb. Unlike a regular chocolate cake, red velvet has a unique balance of mild cocoa flavor and a slight tang that makes it stand apart.
Now, the story behind red velvet cake is just as interesting as its flavor. It dates back to the early 1900s in the United States, where it first gained popularity during the Great Depression. Bakers used simple ingredients to make a cake that looked fancy and special without breaking the bank. The red color originally came from a chemical reaction between natural cocoa powder and acidic ingredients like buttermilk and vinegar, though nowadays, most recipes use red food coloring to get that vibrant look.
Over the years, red velvet cake has become a beloved classic at celebrations, from weddings to birthdays, and it continues to capture hearts around the world, including right here with us, because who can resist that perfect slice?
Ingredients That Can Elevate Your Red Velvet Cake
While the classic recipe covers the essentials, tossing in a few lesser-known ingredients can really take your red velvet cake to the next level. These extras aren’t always on the shopping list, but once you try them, you might never go back!
- Sour Cream: Adding a spoonful of sour cream gives your cake a richer texture and extra moisture. It also adds a subtle tang that plays beautifully with the cream cheese frosting. Perfect if you want your cake to feel ultra-luxe.
- Espresso Powder: A pinch of espresso powder might sound surprising, but it enhances the cocoa flavor without making your cake taste like coffee. It deepens the overall flavor profile for a richer bite.
- Almond Extract: Swap a bit of vanilla extract for almond extract to add a delicate, nutty aroma that gives your cake a unique twist. Just a drop or two makes a big difference!
- Greek Yogurt: For a healthier spin, try replacing some of the buttermilk or sour cream with Greek yogurt. It keeps your cake moist and tender while adding a bit of protein and creaminess.
- Natural Red Color Alternatives: Instead of artificial dyes, natural colorants like beetroot powder or pomegranate juice can give your cake a beautiful red tint — plus, they add subtle earthy or fruity notes.
- Cornstarch: Mixing in a tablespoon of cornstarch with the flour can lighten the crumb even more, giving your cake that perfect soft, velvet-like texture.
These ingredients aren’t mandatory, but experimenting with them can help you discover a red velvet cake that’s uniquely yours — moist, flavorful, and unforgettable.

Step-by-Step Baking Instructions to Nail Your Red Velvet Cake Every Time
Alright, now that you’ve got all your ingredients ready and know the little extras that can take your cake up a notch, it’s time to roll up your sleeves and get baking. Follow these steps carefully, and you’ll have a gorgeous, moist red velvet cake that tastes as amazing as it looks.
1. Get Your Oven Ready
Turn your oven on to 350°F (175°C) to warm up while you prep. Grease your cake pans well—don’t just slap on some butter; use parchment paper too for easy release. Nobody wants a cake stuck to the pan!
2. Whisk Together the Dry Stuff
In a bowl, sift the flour, cocoa powder, baking soda, and salt. Sifting is key here—it keeps your batter light and lump-free, which means a fluffier cake.
3. Mix the Wet Ingredients Like a Pro
In a separate bowl, beat the sugar and oil together until smooth. Crack the eggs one at a time, giving each a good mix. Next, pour in the buttermilk, vinegar, vanilla, and red food coloring. Stir until it looks like a smooth, vibrant batter—bright red and ready to wow.
4. Bring Wet and Dry Together — Gently!
Add the dry ingredients to your wet mix slowly. Use a spatula or a mixer on low speed to fold everything together. Don’t overdo it—overmixing can toughen the cake, and that’s the last thing you want.
5. Fill Your Pans and Bake
Divide the batter evenly between your pans. Give them a gentle tap on the counter to get rid of air bubbles. Pop the pans in the oven and bake for around 25-30 minutes. Keep an eye out and do the toothpick test: if it comes out clean, your cake is ready to come out.
6. Time to Frost Like a Boss
Once the cakes are cool, slather on your cream cheese frosting. For a clean finish, apply a thin crumb coat first and chill the cake for 15-20 minutes before adding the final frosting layer. This keeps crumbs from mixing into your icing.
Pro tip: For a juicy cake, consider brushing each layer lightly with flavored syrup (like a splash of vanilla or even a bit of liqueur) before frosting. It locks in moisture and adds an extra flavor punch.
Taking the time to bake your cake just right is what makes all the difference between an average slice and a showstopper. Now that your cake layers are perfectly baked and cooled, we’re ready to dive into the star of the show — that luscious, tangy cream cheese frosting that gives red velvet cake its signature taste. Let’s move on to whipping up that frosting so you can finish your masterpiece!
Whip Up a Cream Cheese Frosting That’s Truly Next-Level
Alright, you’ve baked your gorgeous red velvet layers — now it’s time to create the frosting that makes this cake unforgettable. Cream cheese frosting is the classic choice, but there’s a little art to getting it just right: creamy, tangy, and smooth without being too sweet or runny.
Ingredients You’ll Need for This Frosting
- 225g (8 oz) full-fat cream cheese, softened to room temperature
- 110g (½ cup) unsalted butter, softened — the richer, the better!
- 3 to 4 cups (360–480g) powdered sugar, sifted for lump-free sweetness
- 1 teaspoon pure vanilla extract — quality matters here
How to Make It Like a Pro
- Beat Butter and Cream Cheese Together Until Silky
Pop the softened butter and cream cheese into your mixer bowl. Beat on medium speed for about 3-4 minutes until the mixture is smooth, creamy, and a little fluffy — no lumps allowed here! - Add Vanilla (and Lemon, if Using)
Stir in vanilla extract and, if you’re feeling fancy, lemon zest or a tiny splash of lemon juice. This adds a fresh brightness that plays beautifully against the cake’s richness. - Sift and Add Powdered Sugar Gradually
Sift your powdered sugar before adding it — this keeps your frosting silky smooth. Add it slowly, one cup at a time, beating on low speed to avoid a sugar storm in your kitchen. Once all the sugar is in, bump up the speed and beat until the frosting is fluffy and spreadable. - Adjust the Texture
If the frosting feels too thick, add a teaspoon or two of milk or cream to loosen it up. Too thin? Sprinkle in a bit more powdered sugar. Aim for a consistency that holds its shape but spreads easily.
Pro Tips for the Perfect Frosting Finish
- Always use full-fat cream cheese for the best flavor and texture — low-fat versions can be watery.
- Chill the frosting slightly before applying if your kitchen is warm; it helps it set nicely.
- For a flawless finish, spread a thin “crumb coat” layer first, chill for 15-20 minutes, then apply a final coat.
This frosting isn’t just the perfect partner for your red velvet cake — it’s a showstopper on its own. Next, I’ll share some insider tips and tricks to make sure every slice you serve looks and tastes like it came from a professional bakery.

Tips & Tricks for Perfect Red Velvet Cake Every Time
You’ve got the recipe, the ingredients, and the frosting—now let me share some insider secrets to help you bake a red velvet cake that’s moist, tender, and picture-perfect every single time. These tips come straight from seasoned bakers who’ve been there, done that, and want to save you from the common slip-ups!
1. Don’t Skip the Buttermilk
Buttermilk isn’t just a fancy ingredient; it’s what makes your cake tender with that signature tang. If you don’t have it on hand, mix regular milk with a tablespoon of vinegar or lemon juice and let it sit for 5 minutes. Easy fix, big difference!
2. Use Room Temperature Ingredients
Cold eggs or butter can slow down the mixing process and cause the batter to curdle. Let your eggs, butter, and cream cheese sit out for about 30 minutes before you start baking. Your batter will come together smoothly, and your cake texture will thank you.
3. Sift, Sift, Sift
Sifting your flour and cocoa powder not only prevents lumps but also adds air, making your cake lighter and fluffier. Don’t rush this step—it’s worth the extra minute.
4. Be Gentle When Mixing
Overmixing can make your cake dense and tough. Stir just until the ingredients are combined. It’s okay if there are a few small lumps; they’ll disappear during baking.
5. Cool Properly Before Frosting
Let your cakes cool completely on wire racks before frosting. Frosting warm cakes leads to melting and messy layers.
6. Experiment with Natural Red Colorants
If you prefer to skip artificial dyes, try natural options like beet juice or pomegranate molasses for a unique twist. They add color plus subtle, delicious flavor notes.
7. Personalize Your Cake
Don’t be afraid to add a pinch of cinnamon, a splash of espresso, or a touch of almond extract for your signature take on this classic.
Follow these tips, and you’ll not only bake a stunning red velvet cake but also gain the confidence to tackle any baking challenge that comes your way. Next, I’ll guide you through some fun variations you can try once you’ve mastered the classic — to keep your baking exciting and fresh!
My Latest Recipes
Chocolate Swiss Roll Cake
Chocolate Ding Dong Cake

Bread For The City Lawyers

Cake Payroll
Ice Cream Shop Insurance
Cake Business Insurance
Variations & Twists to Make Your Red Velvet Cake One-of-a-Kind
Once you’ve nailed the classic red velvet cake, why not shake things up a bit? These tasty variations add fun flavors and textures, so you can surprise your friends and family (or just treat yourself) with something a little different, all while keeping that signature red velvet charm.
1. Red Velvet Cupcakes
Perfect for parties or quick treats, red velvet cupcakes are just mini versions of the cake, baked in cupcake tins. Top them with the classic cream cheese frosting or get creative with sprinkles, crushed nuts, or even a drizzle of melted chocolate.
2. Vegan Red Velvet Cake
Swap out dairy and eggs with plant-based alternatives like almond milk, apple cider vinegar, and flaxseed eggs. Use coconut oil instead of butter, and whip up a vegan cream cheese frosting with vegan cream cheese and powdered sugar. You’ll get the same rich, moist texture with a plant-friendly twist.
3. Gluten-Free Red Velvet Cake
Using a gluten-free flour blend makes this cake accessible to those with gluten sensitivities. Just make sure your blend contains xanthan gum or another binder to keep the cake tender and soft.
4. Red Velvet Cheesecake Cake
For the ultimate indulgence, layer your red velvet cake with creamy cheesecake filling between the layers. This combo adds a rich tanginess that pairs perfectly with the sweet cake.
5. Red Velvet with a Citrus Twist
Add a bit of orange or lemon zest to the batter and frosting for a fresh, zingy flavor that brightens the classic richness. It’s unexpected but seriously delicious!
6. Red Velvet Ice Cream Cake
Layer your baked cake with scoops of vanilla or cream cheese ice cream, then freeze for a few hours. Perfect for warm days when you want your red velvet fix but with a cool twist.
These variations show just how versatile red velvet cake can be. Whether you want to keep it traditional or go bold with new flavors, there’s a red velvet recipe waiting to become your new favorite. Next up, I’ll cover some common FAQs to clear up any questions you might have before you start baking.
| Nutritional Information & Recipe Details | Details |
|---|---|
| Preparation Time | 20 minutes |
| Cooking Time | 25–30 minutes |
| Total Time | 45–50 minutes |
| Type | Dessert / Cake |
| Cuisine | American / Classic Southern |
| Recipe Yield | 12 servings (two 9-inch layers) |
| Calories | Approx. 350–400 per serving* |
Final Thoughts on Baking the Perfect Red Velvet Cake
Baking this red velvet cake has been such a rewarding experience, from mixing the vibrant batter to frosting those tender layers with creamy goodness. It’s a recipe that’s both classic and comforting, yet versatile enough to make your own. Whether you’re baking it for a special occasion or just to treat yourself, there’s something truly magical about sharing this rich, moist cake with family and friends.
Thank you so much for joining me on this baking journey! I hope this guide helps you create a red velvet cake that you’re proud of and that tastes every bit as amazing as it looks. Don’t forget to check out more of my recipes and baking tips — there’s plenty of delicious inspiration waiting for you.
Happy baking, and see you in the next recipe!
Discover My Related Recipes You Will Love
Frequently Asked Questions About Red Velvet Cake
1. Why does my red velvet cake turn out dry sometimes?
Dry red velvet cake usually happens when it’s overbaked or when the batter is overmixed. Make sure to keep an eye on the baking time and mix just until ingredients combine to keep your cake moist and tender.
2. Can I substitute cocoa powder with melted chocolate in red velvet cake?
It’s best to stick with unsweetened cocoa powder. Melted chocolate contains fat and sugar, which can change the texture and sweetness balance of the cake.
3. Is it necessary to use vinegar in red velvet cake?
Yes, vinegar reacts with the baking soda to help the cake rise and contributes to its tender crumb. It also enhances the slightly tangy flavor that’s signature to red velvet.
4. How do I fix a red velvet cake that’s too dense?
If your cake turns out dense, check your leavening agents (baking soda/powder) and don’t overmix the batter. Also, make sure your flour is properly measured and sifted.
5. How do I make red velvet cake without artificial food coloring?
Try natural options like beetroot juice, raspberry puree, or pomegranate juice to give a subtle red tint. Keep in mind the color might be less intense, but still delicious.
6. Can I freeze red velvet cake?
Yes, wrap the cooled cake layers tightly in plastic wrap and then foil. Freeze for up to 2 months. Thaw in the fridge overnight before frosting.
Share your thoughts or questions about the recipe in the comments below!